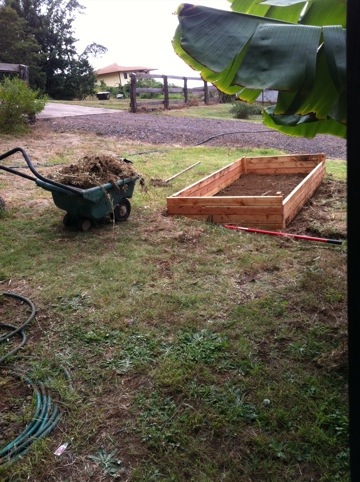
After leveling the ground as good as I could get it, I gave in and took a few shortcuts in the end. Since I’m building on a downward slope and there’s rocks underneath I couldn’t really get it perfect. The wooden structure itself is level but the ground underneath it isn’t quite level, so I added some wood pieces underneath and filled in the gaps as best I could to get it close to level. I hope it holds up!

After removing the grass underneath, I installed 4 pvc pipes along the inside to hold a hoop house or similar structure in the future.
Once that was done I began to source all of my ingredients to make the “Mel’s Mix”. I was able to find OMRI certified Vermiculite at Crop Production Services in Kahului. Lowes had the best pricing on Peat Moss. For compost I used some Down to Earth branded compost, Composted Cattle Manure, Whole Food Compost from Gregg up in Kula 200 (pricey but supposed to be high quality) and some random leftovers that I had laying around (Worm Castings and Gardens in Bloom Compost). I found Haiku Hardware to be a good source for a variety of my composts.

Once I had all of the ingredients, the real work began…making the mix. I had to do small batches so i basically filled a 5 gallon bucket with peat (making sure to break up all of the clumps) then dumped it on a tarp. Repeat for the Compost and also the Vermiculite.

Once I had a batch of all 3 on the tarp I mixed it all up and dumped it in the bed. Spread it flat and wet it down. Repeat, Repeat, Repeat, drink a beer, Repeat, Repeat, More beer, Repeat. Next day, Drink a beer first, Repeat, Repeat……until done. I’m sure I made at least 10 batches to fill the bed approx 7 inches!
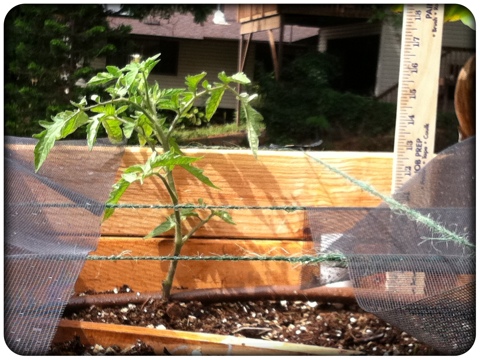
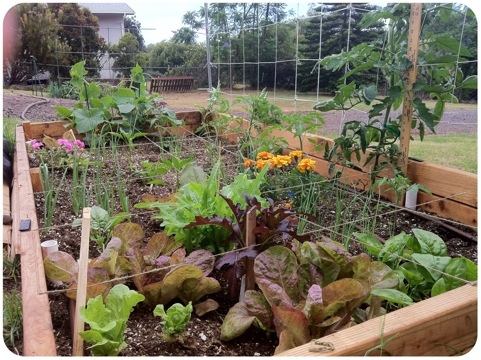
Ok, got the soil done! The next day as I was checking the soil I found some fresh cat poop in my new garden. Dangit, I said to myself (Dang is a great word)! The soil is so light and fluffy and perfect that its the perfect kitty litter box. F*&! is more like it, but I digress. I decided to apply some screening over the top of the bed structure, problem solved. I’m actually going to create a screened top structure in the future but I don’t want to get too far ahead of myself.
Next I made a temporary square foot grid with nails and jute string.


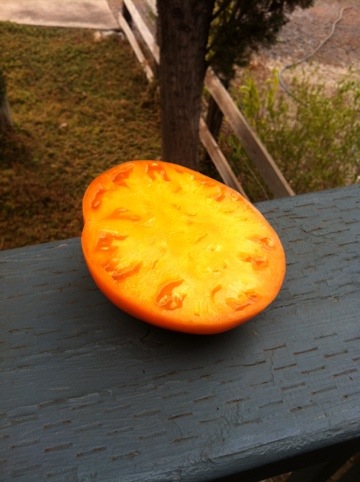
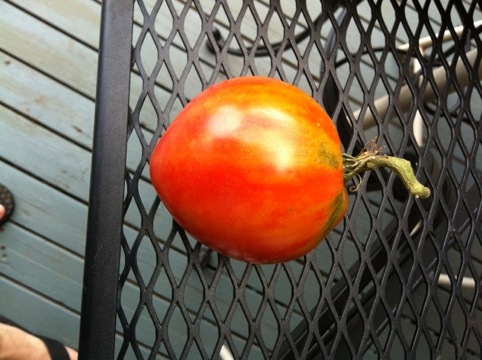
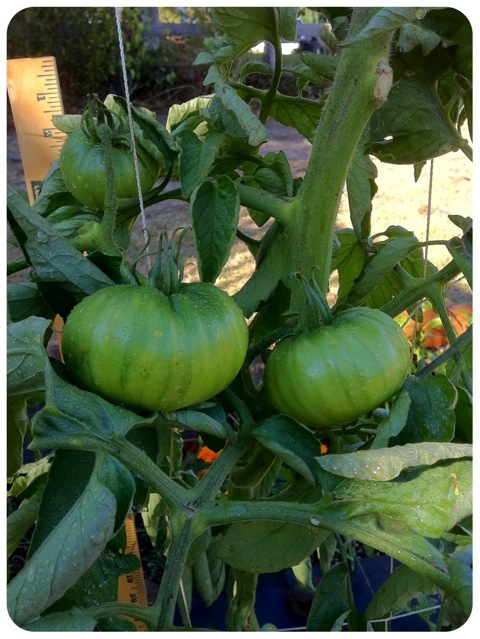
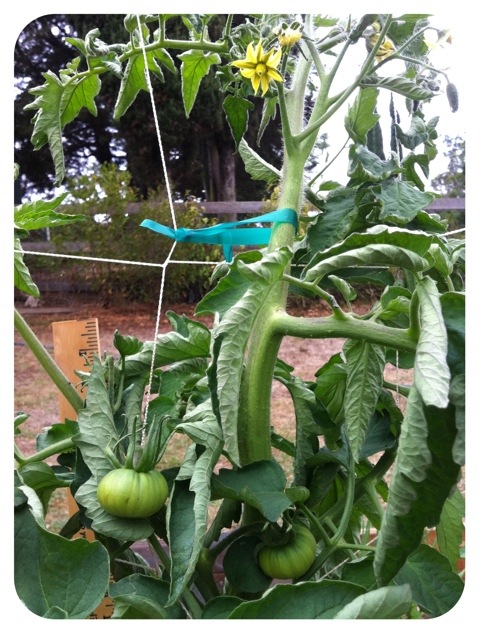
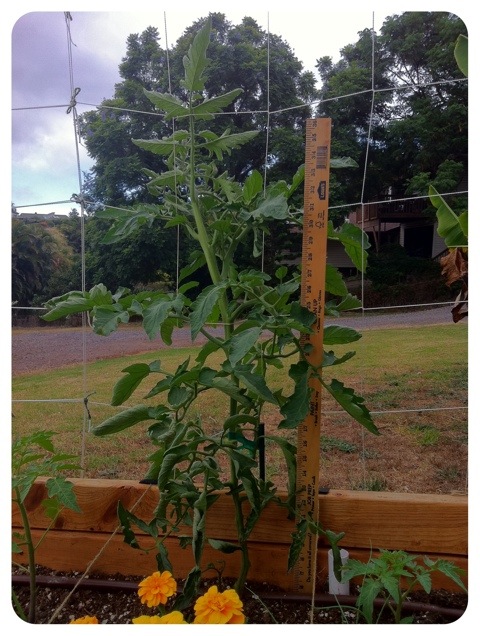
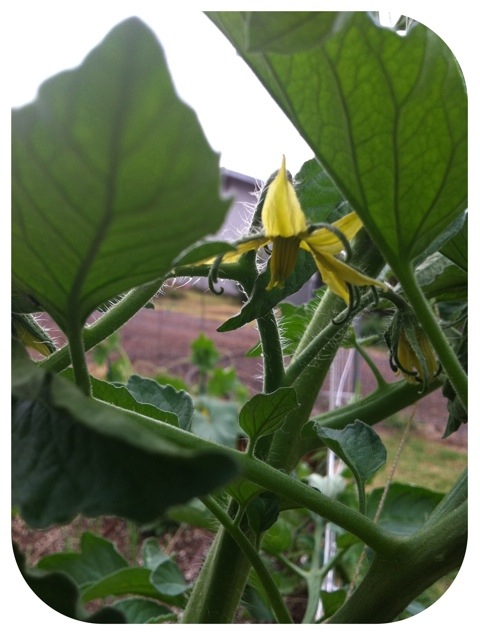
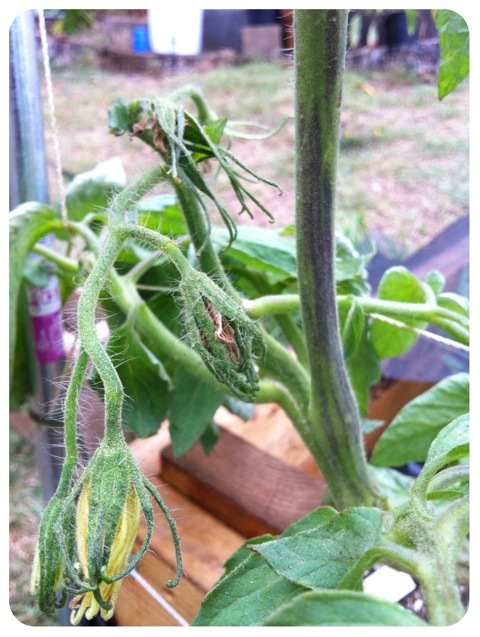
I should have done the irrigation next but I decided to plant my starter Lettuce and Tomatoes instead. I also went to Kula Hardware and purchased some Open Pollinated, Organic seeds (Scalliions, Red-Yellow-Orange Peppers, Cucumber, Lettuce, Tomato Variety pack and Spinach).

The starters went into Peat Pellets and a few of them looked good enough in the first week to go ahead and plant in the garden.

Yesterday, Christina helped me to install the irrigation system. I purchased 1/2″ poly hose with the 12″ drippers already installed. They called it “brown line”. This looked to be the easiest and best route to go since I didn’t have to mess with punching holes and adding the emitters manually. Once we planned the layout all we had to do was install the T’s and elbows and make the connections. If anyone is interested in the design, leave a comment.


Finally, it’s pretty much complete! I chose to go with drip line irrigation in hopes to prevent the complications I was getting from spraying the leaves with water in the last garden. As I went further into this project I figured that if I was going to do it, that I would do it right. I hope that all of the hard work and effort will pay off in the end. Aloha.